
Talons for Korea. Woots. Okay, you may think the polish is not well spread. Haha. Cos I am the manicurist. *Blush* And I am still a novice. So it doesn't look at good. But...I super duper love Depend GeLlack Obligatory Start Kit. It is like a must-have for every girl. The nails didn't come out perfect but it looked so much better than all my self-painted manicures I did for myself!
It is so-so-so easy to use! There is no need to file your nails, so you don't have to worry about your natural nails being damaged. I did it within less than an hour! All I can say is "I am so proud of them!" I promptly showed them to all my friends. Hahaha!
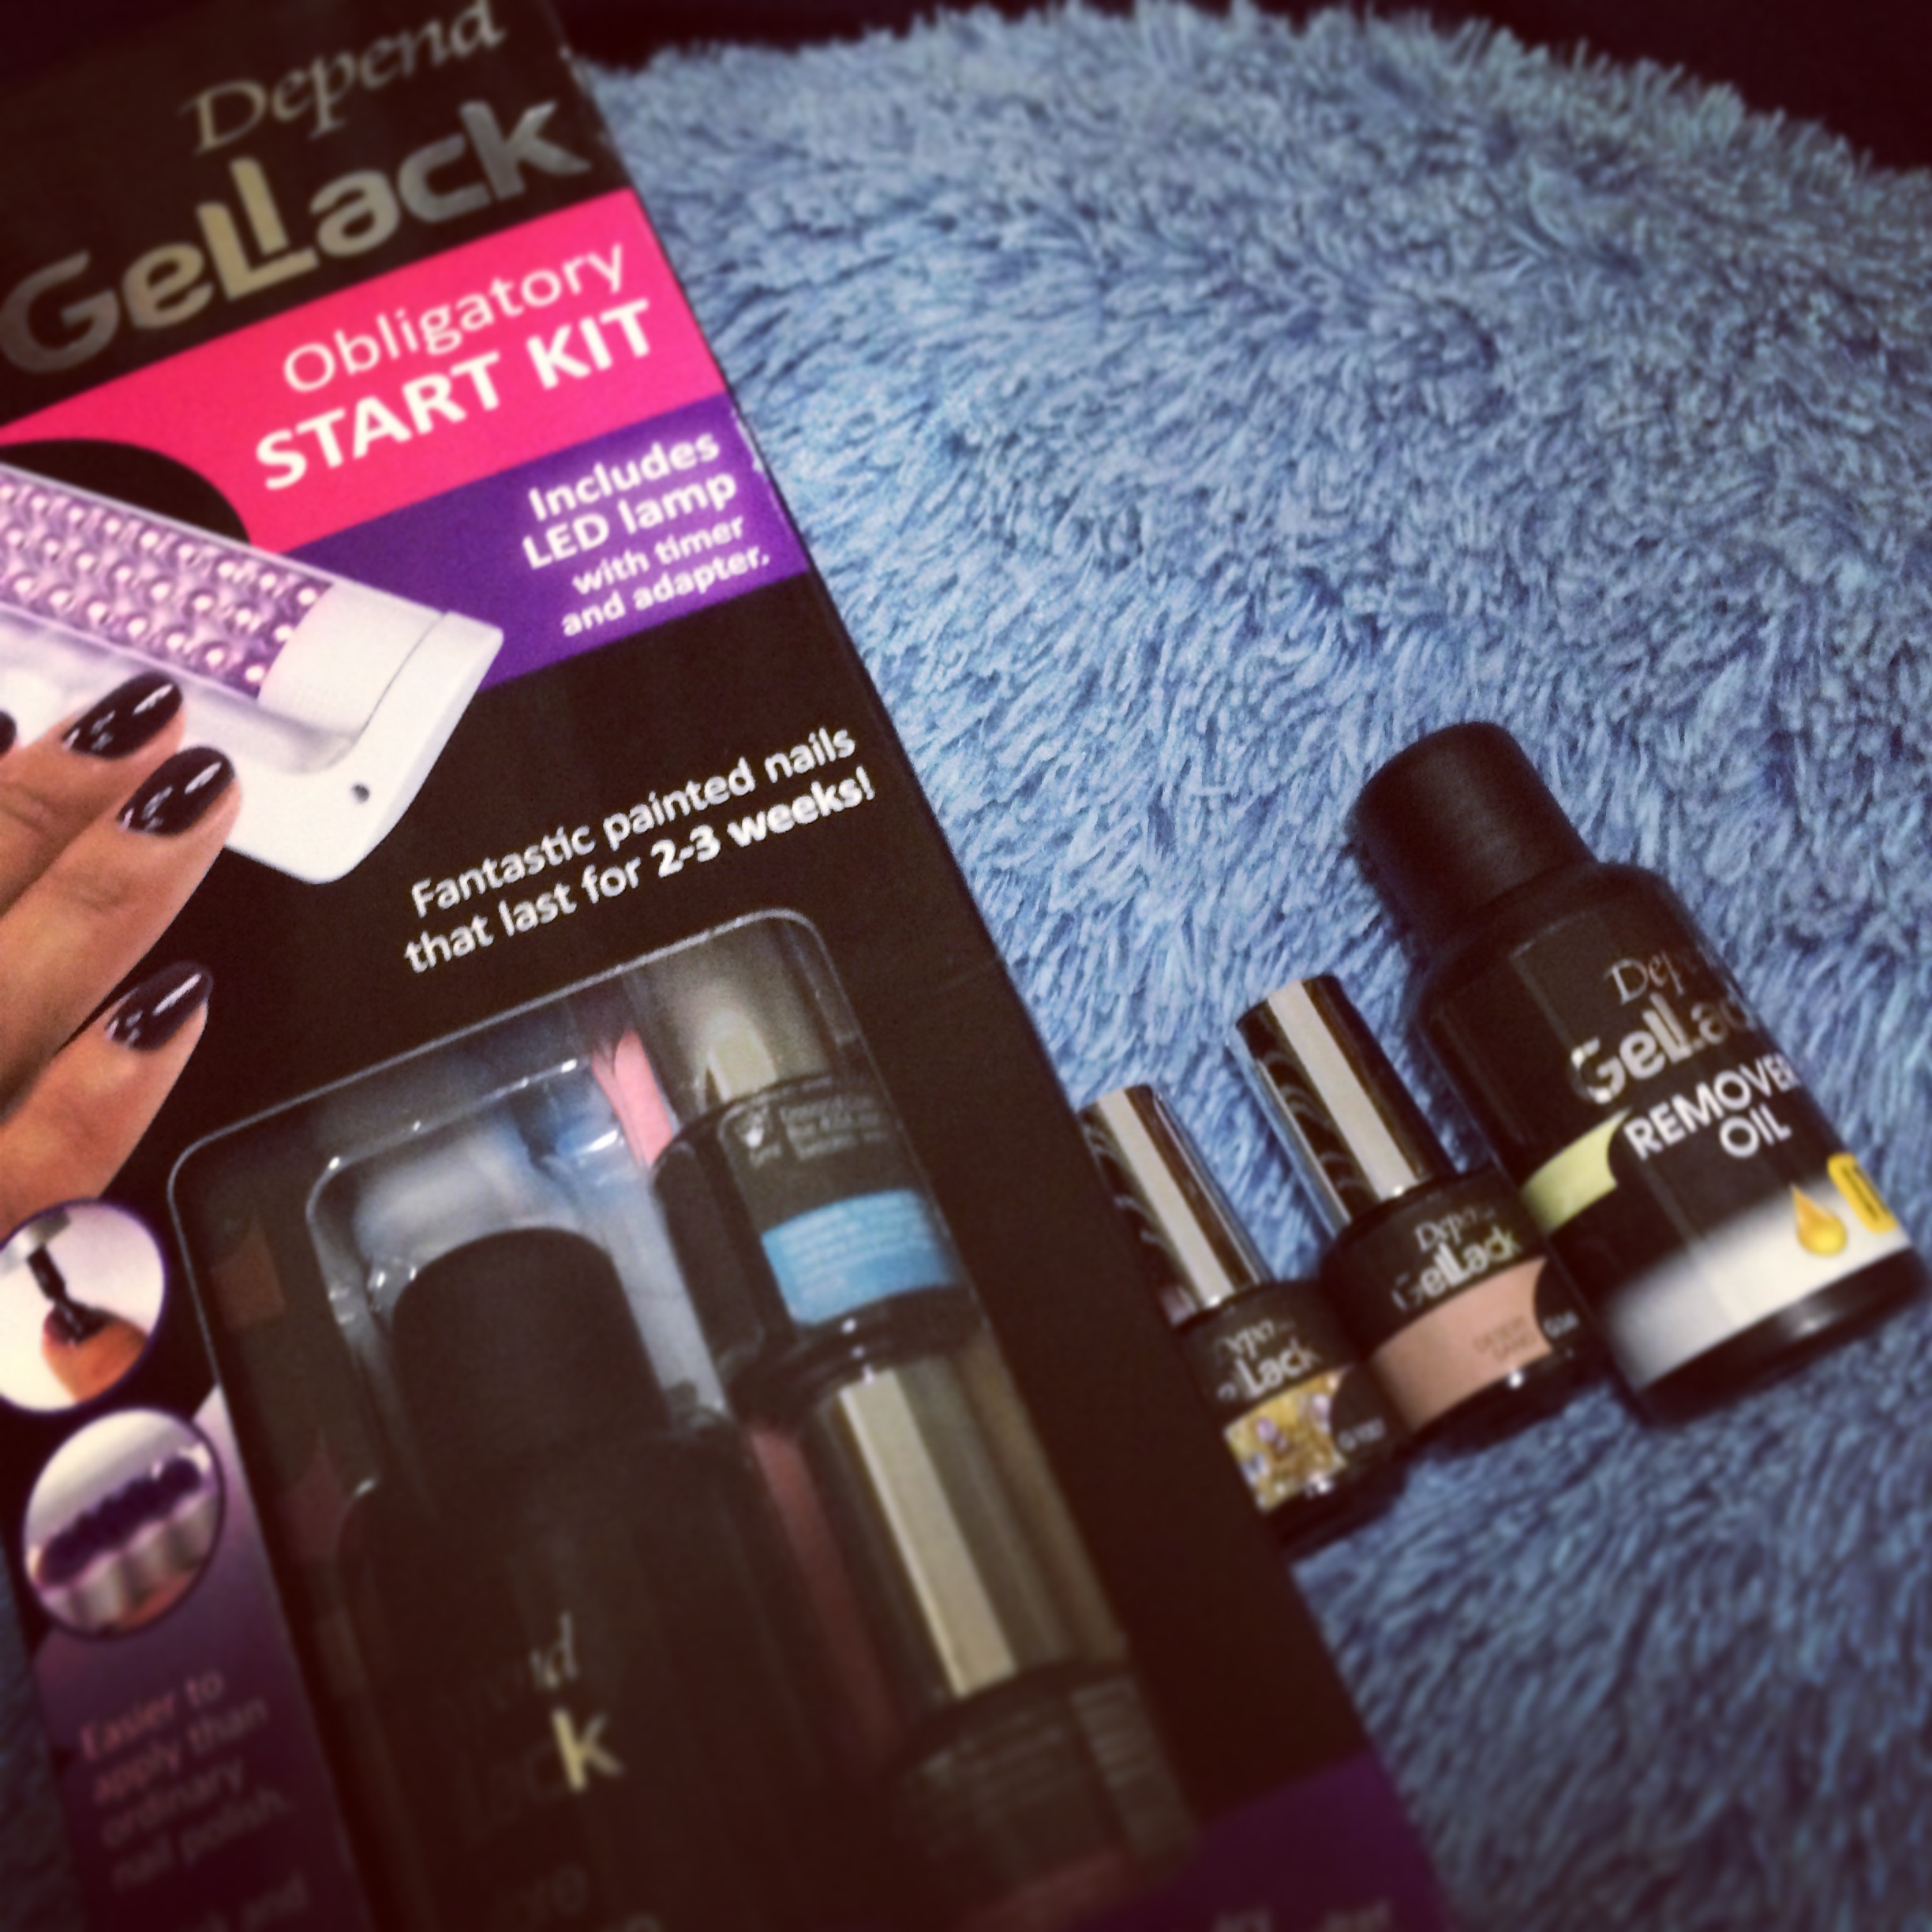
This was the obligatory start kit (S$99) which I used to test out the products. The GelLack Obligatory Start Kit includes a before/after cleanser, base coat, top coat, an orange stick and a nail file. My 2 bottle of polishes were Desert Sand and Gold Night Glitter. Each GelLack Colour retails at S$13.50 each, cheaper than OPI.
They have have a special remover, the Depend GelLack Removal Oil (S$ 6.90) each. Instead of using the traditional removal methods typically include a nail wrap and a soak-off with pure acetone, which is drying to nails and skin, you just have to rub the moisturizing GelLack Removal Oil onto the nails.
After that , soak the nails in warm water (40°C) for a few minutes. The gel nail can then be easily removed with an orange stick, with no damage done to the nail surface due to buffing. And so your nails can actually stay thick and healthy.I haven't exactly tested out the removal (come on, I just painted them on! :( ) But I saw some videos online, and honestly, it seemed manageable. Sorry, the video is in Cantonese. Will update my views once I remove them.

With GeLlack, you can know have fuss-free gelish nails in the comfort within your own home within 5 simple steps. These nails are supposed to last for 2-3 weeks.
Step 1: Apply Depend GelLack Before/After Cleanser on a cotton wool ball and clean your nails carefully. Allow the nails to dry for about 30 seconds.
Step 2: Apply a thin layer of Depend GelLack BASE. Harden for 30 seconds under the LED lamp.
Step 3: Apply a thin coat of Depend GelLack colour. Harden for 30 seconds under the LED lamp. Apply another thin layer of Depend GelLack colour and harden for 30 seconds under the LED lamp.
Step 4: Apply a thin layer of Depend GelLack TOP and harden for 30 seconds under the LED lamp.
Step 5: Now the surface of the nail will still be slightly sticky. Apply Depend GelLack Before/After Cleanser on a cotton wool ball and clean the top finish to bring out the gorgeous sheen of your new nails!
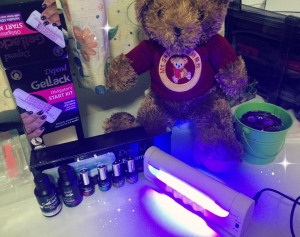
Check out my manicure table :P When I tried it out, the stickiness was there even after I cleaned with the Cleanser. I had a short nap and voila, when I woke up, no more stickiness. The polish as a whole viscosity was good.
For those who has never heard of Depend, it is the number 1 best-selling cosmetic brand in Sweden. This DIY GeLlack system just launched in Singapore and is super popular in Europe. That is not unexpected considering it is a very inexpensive way for ladies like us to achieve salon nails.

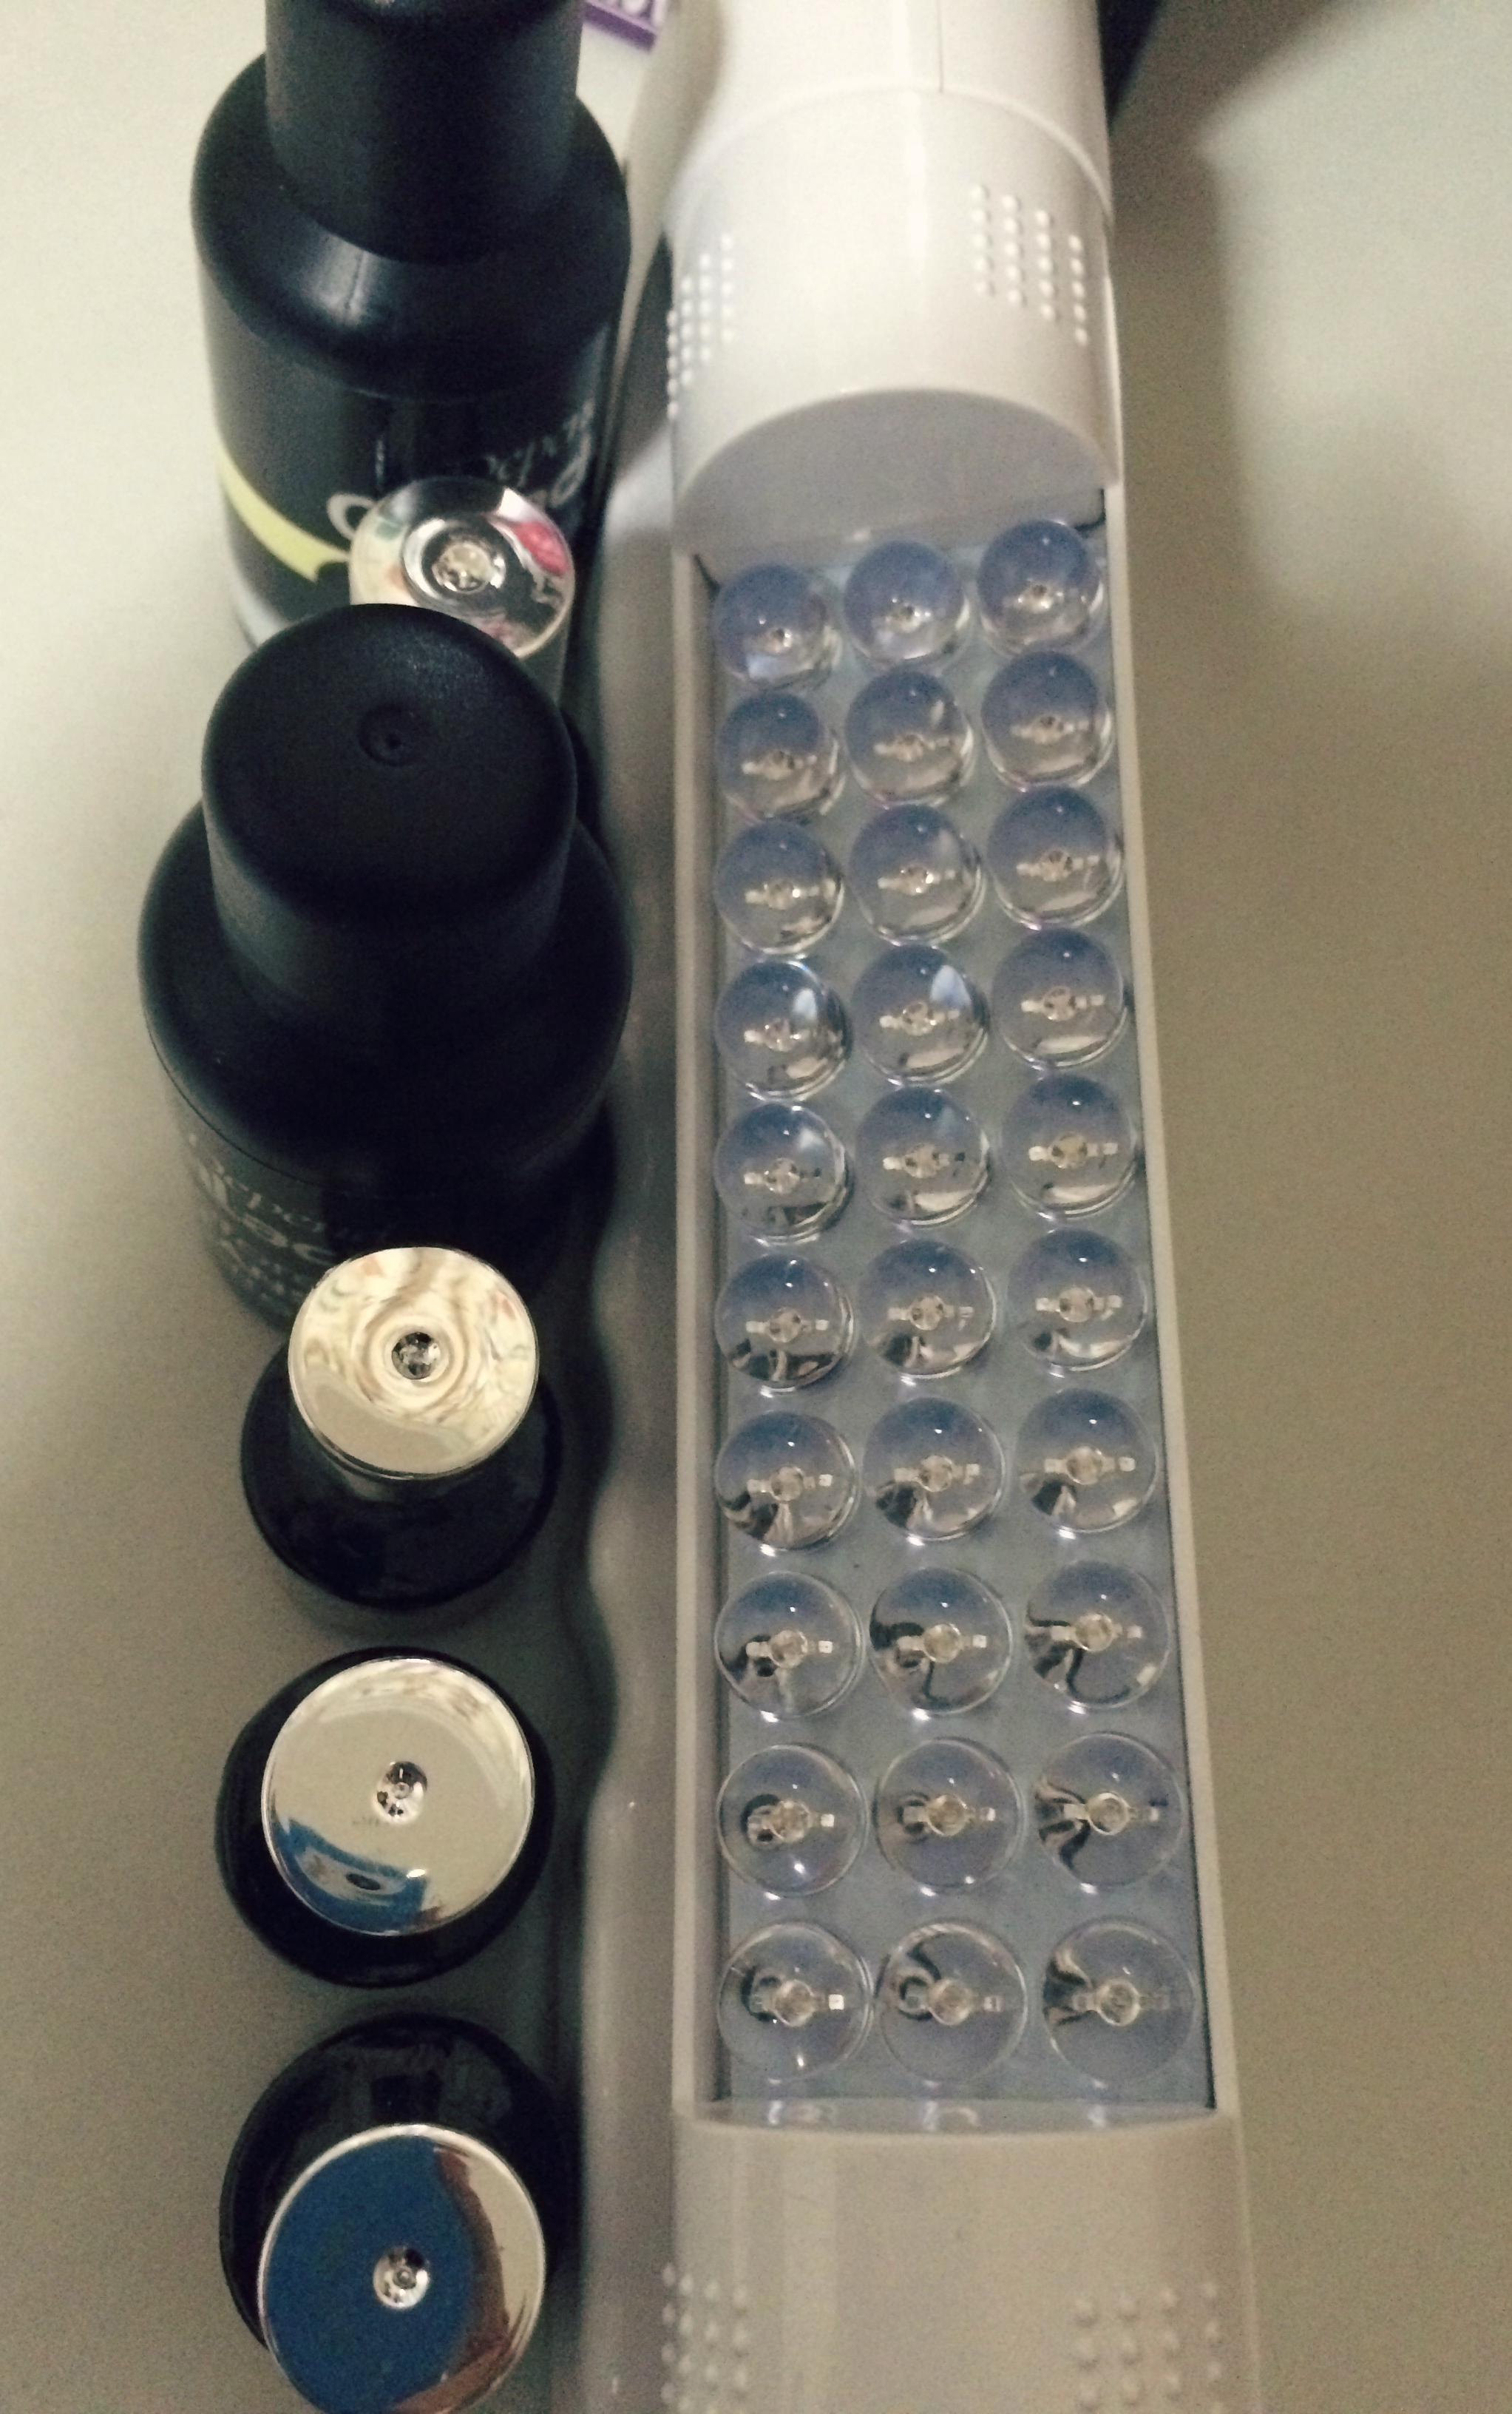
The only difficulty you may face is probably trying to put as many nails as you can under the LED light. If you contort your nails like mine, you can do 4 at a go. There is no way I could stuff my thumb in. Hahaha. It looks uncomfortable but it is not. Doing this just made me realise how inflexible my middle finger was. I had to force her to bend. :P
There may be some stinging, hot feeling when you first placed the fingers under the LED light. But that is quite normal. For me, not all my fingers experienced it. Either that, or I got used to it.
For those who are worried about the possible lack of variety (since it is called Gel-Lack, Haha), The GelLack Colour has a good range providing up to 30 beautiful shades. One thing I noticed was the smell of the polish. It was a lot stronger than the normal polish stench we are used to. But after a while, it is not that bad.
Overall, I think it is a very good investment. After you purchase the obligatory kit, everything else like the polishes are very affordable. So now with less than, S$200, you can practice to become a manicurist. I am now looking for Guinea pigs, hit me up if you are in for it. Or drop by Watsons, if you want to be your own manicurist instead!
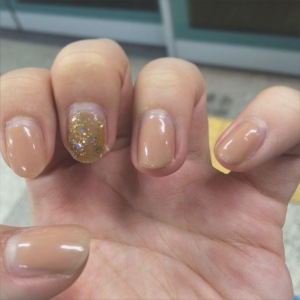
** Update: Nails after 7 days. Still looking Fab!
** Update: Nails after 7 days. Still looking Fab!
No comments:
Post a Comment